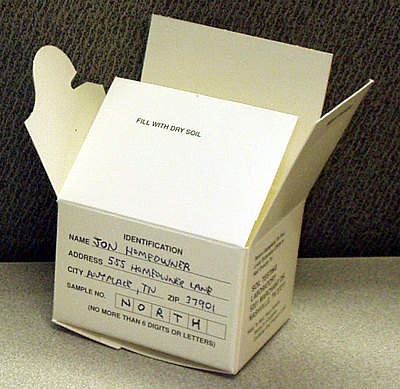
Submitting soil samples is a simple procedure.
Divide the area of interest into one or more sampling areas (from about an acre down to flower bed size), based on uniform soil type, fertilization, and planting history. Sandy or eroded areas, problem areas, or areas where plant response is significantly different should be sampled separately – provided the area can be fertilized separately.
From your local county Extension office, obtain a soil test box for each sampling area, and a soil test information sheet. The information sheet can also be printed directly from this page by clicking on the following link: Soil and Media Information Sheet
You may also use a 4-by-7-inch bubble mailer instead of a soil test box. These mailers are available at most local food or retail and discount outlets.
NOTE: Don’t forget to put a sample number below your return address.

For each sampling area that you have identified:
- Collect small portions of soil from approximately ten random locations that represent the average soil conditions of that area.
- Samples should be collected to a depth of 6 inches.
- Mix the small portions together to form a composite sample. If the soil is wet, allow it to air dry (do not heat) on a paper plate before mixing. Wet soil can dramatically increase shipping costs as well as weaken shipping containers.
- From the composite sample remove enough soil (about a cup) to fill a soil test box or bubble mailer. Assign a sample number and mark this on the box or bubble mailer and the information sheet. Record the sample number and a description of the sampling area it represents in a safe place for later referral.
REMEMBER: “Soil test results are only as good as the sample submitted.”
Mail or bring in the sample(s), the Soil and Media Information Sheet,* and payment to the Soil, Plant and Pest Center (see address and fee information on the Soil and Media Information Sheet). Fees can also be paid by credit card using the secure UT Institute of Agriculture eMarketplace site. Click here to pay online.